Has your client just emailed you saying that they’re thinking about deleting a few blogs on their website? Or maybe you’ve been thinking about deleting some yourself?
Sometimes when going through a site migration or day-to-day SEO strategy, our clients will ask us how to decide what website content should be transferred to their new site and what should be deleted. It’s a valid question and it is argued that deleting low-performing content can boost your site’s expertise, authority and trustworthiness.
At the time of the Google Panda algorithm update, when content was king, marketers took the approach of “more is more”. That could lead to your site having plenty of below average content that is affecting your site overall.
That’s why we’ve put together this blog with a step-to-step guide on how to assess which blogs to delete or keep.
Why not just delete all of my old web content?
Deleting all of your old website content without analysing its contribution to your site’s overall and organic traffic, or backlink profile, can have a negative impact on your site overall.
Say you have 20 blogs that are a few years old. They bring in roughly 200 organic sessions a year and each one has a backlink. If you deleted these blogs, you’d be losing the benefit of potentially an extra 4,000 organic sessions a year, potentially assisted conversions, and the potential link equity from all of those backlinks.
Deleting low-performing content can benefit your website and boost E-A-T (according to Google’s Quality Rater Guidelines), but you have to be sure that these pages are not contributing to your site’s organic or off-page performance beforehand.
So how can you figure out what exactly to do with your old web content?
Here are the steps to not negatively impact your site and drive traffic from your old content.
Step 1. Crawl your site to get a list of all blog URLs
Unless you have a list of all blog URLs on your site already to hand, the quickest way to get a list of all of the blog URLs on your site is to crawl your site using Screaming Frog.
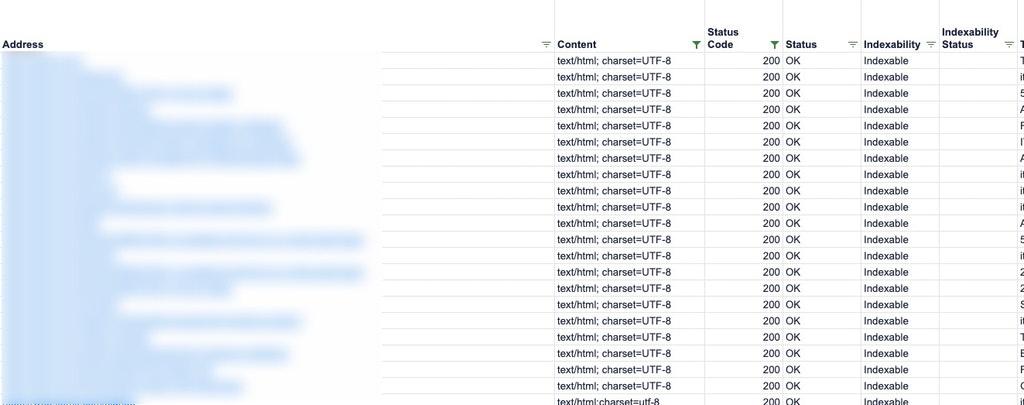
Export all the URLs into a spreadsheet, filter to UTF 8 HTML, status codes 200, indexable and any subfolder structures you have for blogs and news posts on your site.
Step 2. Use Ahrefs site explorer to find all backlinks pointing towards your blogs
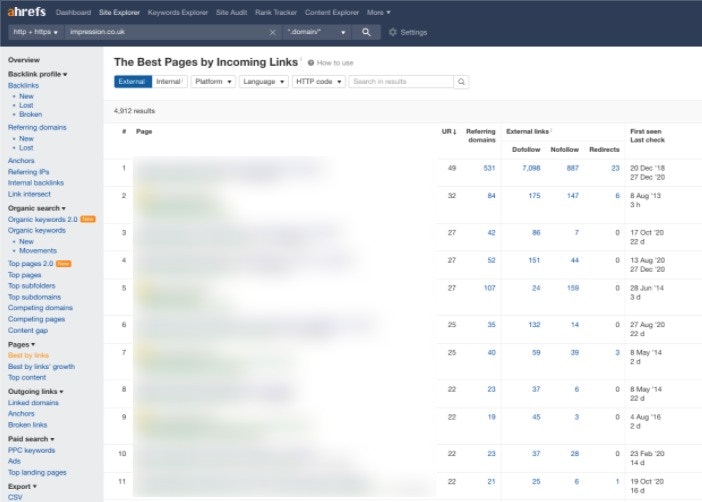
Run your site through Ahrefs Site Explorer to gain access to the Best By Links report. This report shows you which pages on your site have backlinks, even breaking them down into NoFollow and DoFollow links.
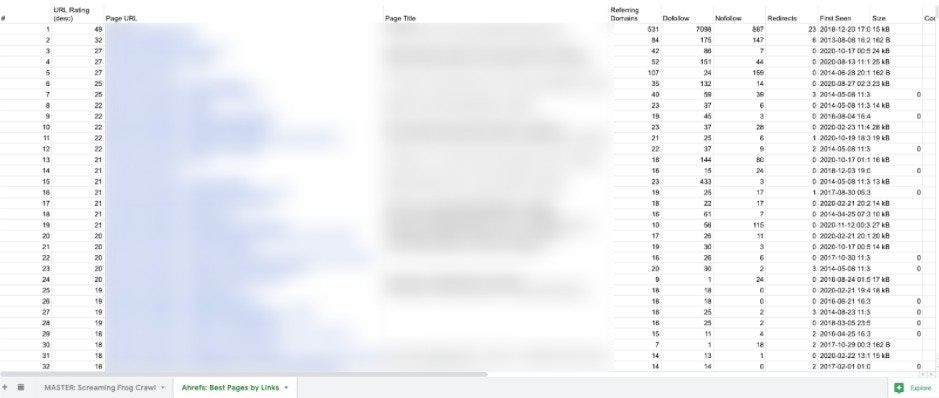
Download the CSV and export it into the same spreadsheet with your filtered blog URLs, but in a separate tab.
Step 3. Export organic traffic data for the past year on landing pages from Google Analytics
Go into Google Analytics’ Landing Page report, set to source Organic Traffic and timeframe for the past year to date.
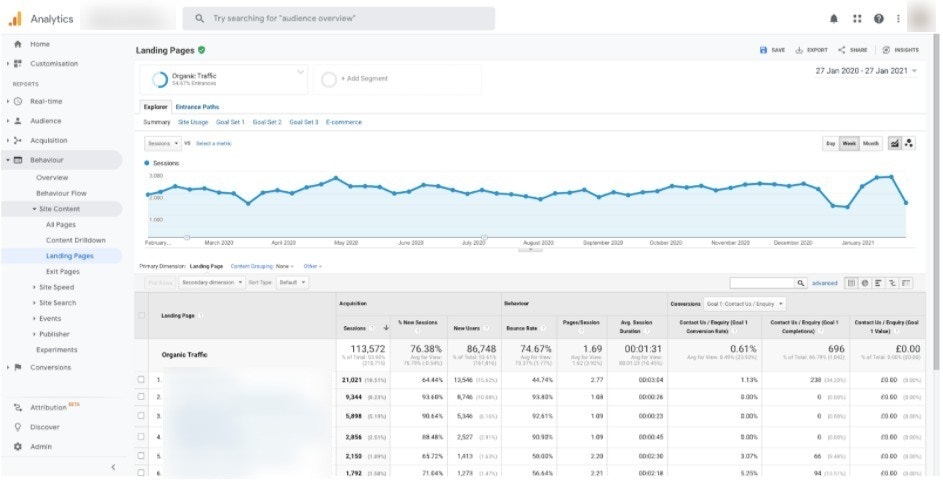
If you have a smaller site, you could set a longer timeframe. But a year should be sufficient for larger ecommerce sites.
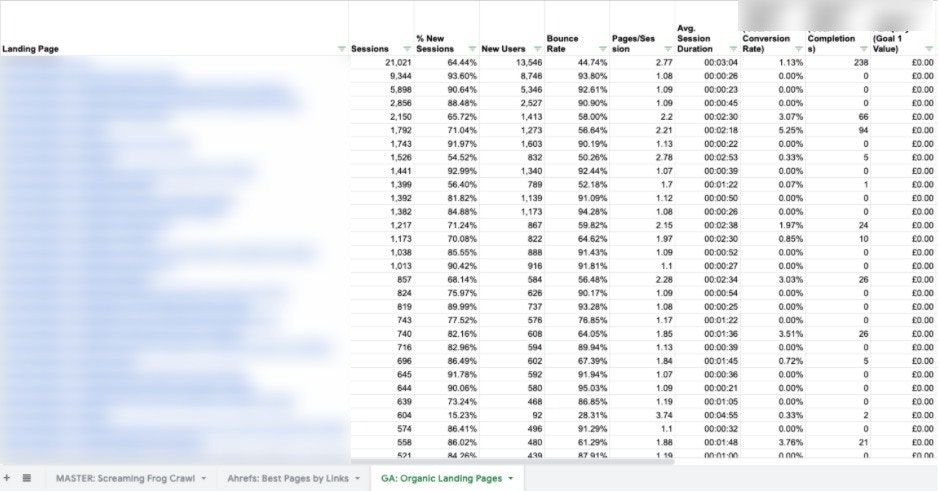
Export this data into the same spreadsheet, in a separate tab.
Step 4. Index match and conditionally format the Ahrefs and Google Analytics datasets with your list of blog URLs
It’s time to index match your data!
In your tab with all the blog URLs, insert new columns for:
- Backlinks
- Sessions
- Bounce rate
- Conversions
Using your Ahrefs and Google Analytics data sources, index match the appropriate columns into your main tab with all of the blog URLs.
Nathan has a really extensive guide on how to use Index Match if you are unsure of how to use it in your workflow.
Once you have pulled your data sets into your master sheet, you might want to use conditional formatting to highlight important information, such as:
- The pages with (or with no) backlinks
- The pages with a high bounce rate and minimal sessions
Step 6. Create a “Keep, Merge, Delete” column and analyse the data
Create a tab with actions for “keep”, “merge” or “delete”.
This will help you understand:
- Which pages to keep
- Which pages or long-tail pieces of content can be merged together
- Which pages can be deleted altogether
For ease, create a drop-down menu in each cell in this column for each action.
You can do this by going on “Data” in the top toolbar, under “Data Validation”, then choose “List of items” under “Criteria” and insert “Keep,Merge,Delete”.
Once you have formatted this correctly, analyse each page and assign it to an action. It is worth leaving a comment for the pages you want to merge together to make it easier for yourself, your client or your team at a later date.
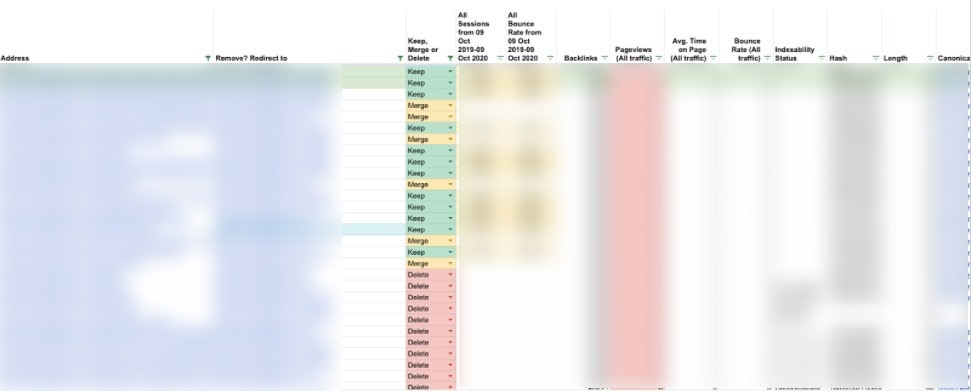
You do not want to delete any pages that have backlinks, lead to conversions and drive a significant volume of traffic to your website.
Step 7. Consolidate your recommendations with your client or team
Once you have analysed each page and assigned a recommendation for each one, you should have a spreadsheet with a clear list of actions and a plan of action moving forward.
Now present these recommendations to your Paid Media, Digital PR and Organic Social teams.
For the pages you want to remove or redirect, make sure that:
- Your Paid Media or Organic Social team aren’t using them as landing pages
- Your Digital PR team aren’t using these pages to build links to
After consolidating your recommendations with the other channel teams, you can present your plan of action to your client (if agency-side). You might only need to present the pages you recommend to remove or delete for sign-off to keep it top-level, depending on your client’s involvement in your SEO strategy.
And that’s the analysis done! Now you just need to act on your recommendations, whether that be removing the low-quality pages and implementing redirects or merging blog content together.
This guide should have given you a straightforward process on how to drive traffic from your old content and assess which pages should be safe to remove.
If you need any more assistance on what to do with your old website content or advice on your content strategy, get in touch with our SEO team today.


